My New Cookbook is Out! Check Out Now!
10 Green Desserts Perfect for St. Patrick’s Day Parties
Did you know that Americans consume over 13 million pints of Guinness on St. Patrick’s Day? While the classic brews are a festive staple, why not elevate your celebrations with some deliciously vibrant green desserts? In this blog, we’ll explore 10 delightful green desserts that are not only perfect for your St. Patrick’s Day parties but also sure to impress your guests and satisfy any sweet tooth. From Lucky Lime Cheesecake Bars to Pistachio Cupcakes with Green Frosting, get ready to add a splash of cheer to your festivities!
Lucky Lime Cheesecake Bars
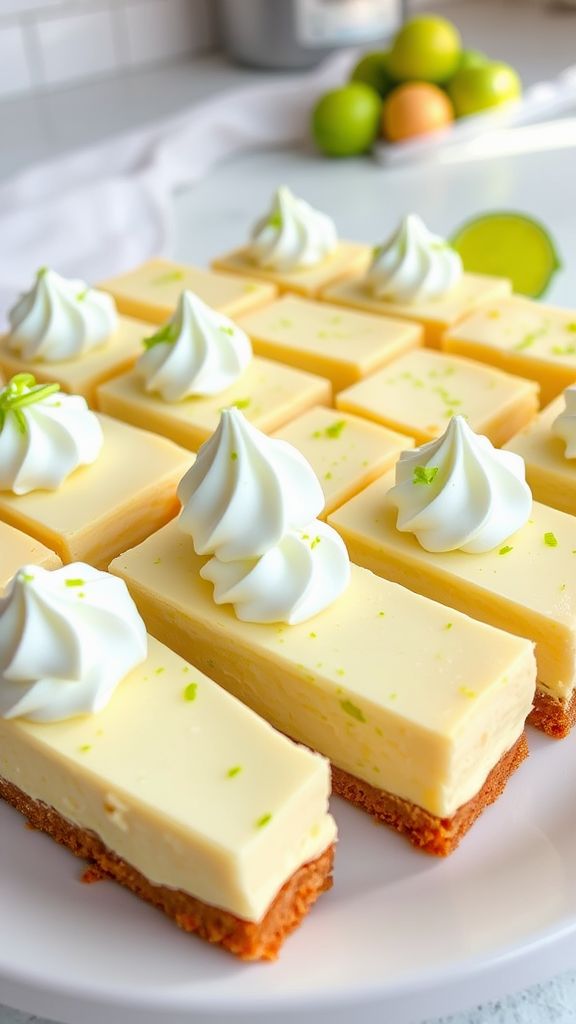
These Lucky Lime Cheesecake Bars are a delightful, tangy treat that perfectly combines creamy cheesecake with a zesty lime kick, making them an irresistible dessert for any occasion.
Ingredients:
- 1 ½ cups graham cracker crumbs
- ½ cup unsalted butter, melted
- 2 cups cream cheese, softened
- 1 cup granulated sugar
- 2 large eggs
- ½ cup sour cream
- ¼ cup fresh lime juice
- 1 tablespoon lime zest
- 1 teaspoon vanilla extract
Preparation Time: 15 minutes
Cooking Time: 30 minutes
Total Time: 45 minutes
Instructions:
1. Preheat your oven to 350°F (175°C) and line an 8×8-inch baking dish with parchment paper.
2. In a mixing bowl, combine graham cracker crumbs and melted butter. Mix until well combined, then press the mixture firmly into the bottom of the prepared baking dish.
3. In another bowl, beat the cream cheese and granulated sugar together until smooth and creamy.
4. Add the eggs one at a time, mixing well after each addition.
5. Stir in the sour cream, lime juice, lime zest, and vanilla extract until fully incorporated.
6. Pour the cheesecake mixture over the crust in the baking dish, spreading it evenly.
7. Bake for about 30 minutes or until the edges are set and the center is slightly jiggly.
8. Remove from the oven and let cool to room temperature, then refrigerate for at least 2 hours before slicing into bars.
Tips:
- Use freshly squeezed lime juice for the best flavor.
- For an extra touch, top the bars with whipped cream and additional lime zest before serving.
- These bars can be stored in the refrigerator for up to a week.
Emerald Matcha Mousse
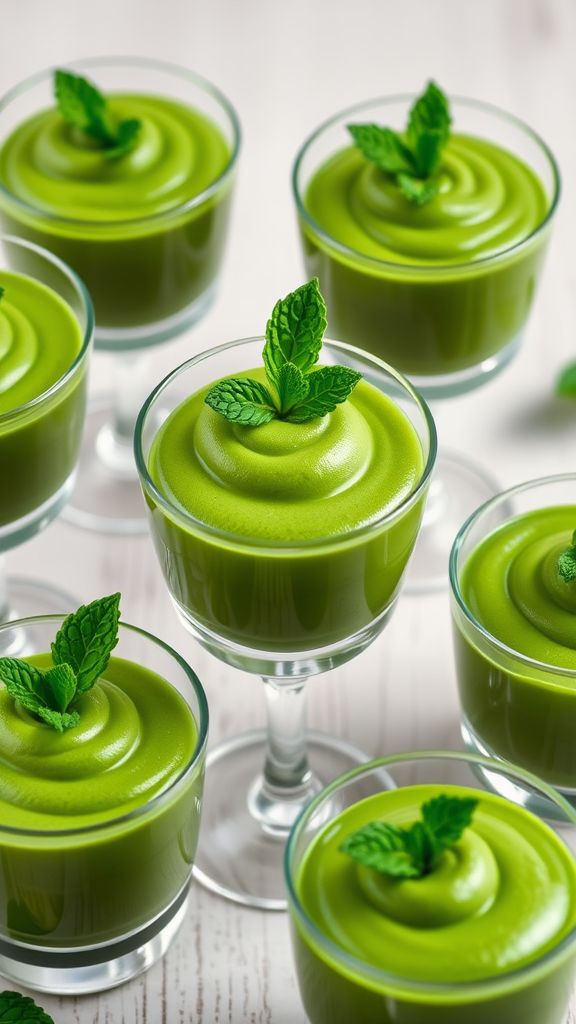
Indulge in the elegant and vibrant world of Emerald Matcha Mousse, where the rich flavors of matcha green tea meet the lightness of a creamy mousse, making it a luxurious yet simple dessert.
Ingredients:
- 2 cups heavy cream
- 1/2 cup granulated sugar
- 2 tablespoons matcha green tea powder
- 1 teaspoon vanilla extract
- 2 large egg whites
- 1/4 teaspoon cream of tartar
- pinch of salt
- 1/4 cup water
Preparation Time: 15 minutes
Cooking Time: 0 minutes
Total Time: 15 minutes
Instructions:
1. In a small bowl, whisk together the matcha powder and water until smooth and set aside.
2. In a large bowl, whip the heavy cream and sugar together until soft peaks form.
3. Gently fold in the matcha mixture and vanilla extract into the whipped cream until fully combined.
4. In another bowl, beat the egg whites with cream of tartar and salt until stiff peaks form.
5. Carefully fold the egg whites into the matcha and cream mixture until no white streaks remain.
6. Spoon the mousse into individual serving dishes and refrigerate for at least 2 hours to set.
Tips:
- For added flavor, consider garnishing with fresh mint or a sprinkle of extra matcha on top.
- Use high-quality matcha for the best color and flavor in your mousse.
- Make sure the bowls and utensils used for whipping the egg whites are completely clean to achieve the best peaks.
Mint Chocolate Chip Ice Cream
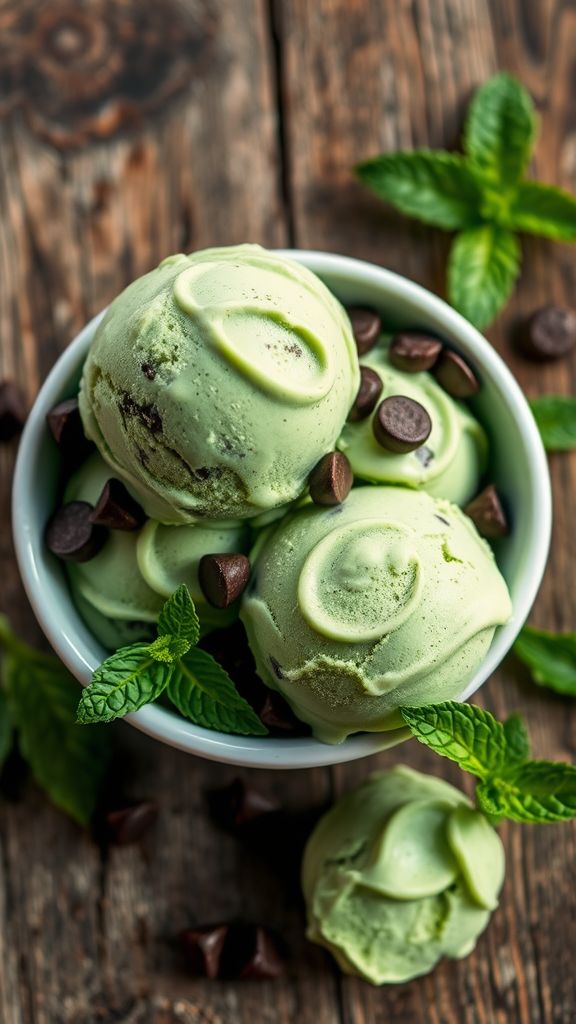
This mint chocolate chip ice cream recipe combines the refreshing taste of mint with rich chocolate chips for a delightful homemade treat.
Ingredients:
- 2 cups heavy cream
- 1 cup whole milk
- 3/4 cup granulated sugar
- 1 teaspoon pure mint extract
- 4 drops green food coloring (optional)
- 1 cup semi-sweet chocolate chips
- 1/2 teaspoon salt
Preparation Time: 15 minutes
Cooking Time: 0 minutes
Total Time: 15 minutes plus freezing time
Instructions:
1. In a large bowl, whisk together the heavy cream, whole milk, granulated sugar, mint extract, and salt until the sugar is dissolved.
2. If using, add the green food coloring and stir until well combined.
3. Pour the mixture into an ice cream maker and churn according to the manufacturer’s instructions.
4. When the ice cream is nearly finished churning, fold in the chocolate chips.
5. Transfer the ice cream to an airtight container and freeze for at least 4 hours, or until firm.
Tips:
- For an extra minty flavor, consider adding more mint extract to taste.
- If you don’t have an ice cream maker, you can freeze the mixture in a shallow dish and stir every 30 minutes for a creamy texture.
- Store any leftovers in an airtight container to keep it fresh.
Pistachio Cupcakes with Green Frosting
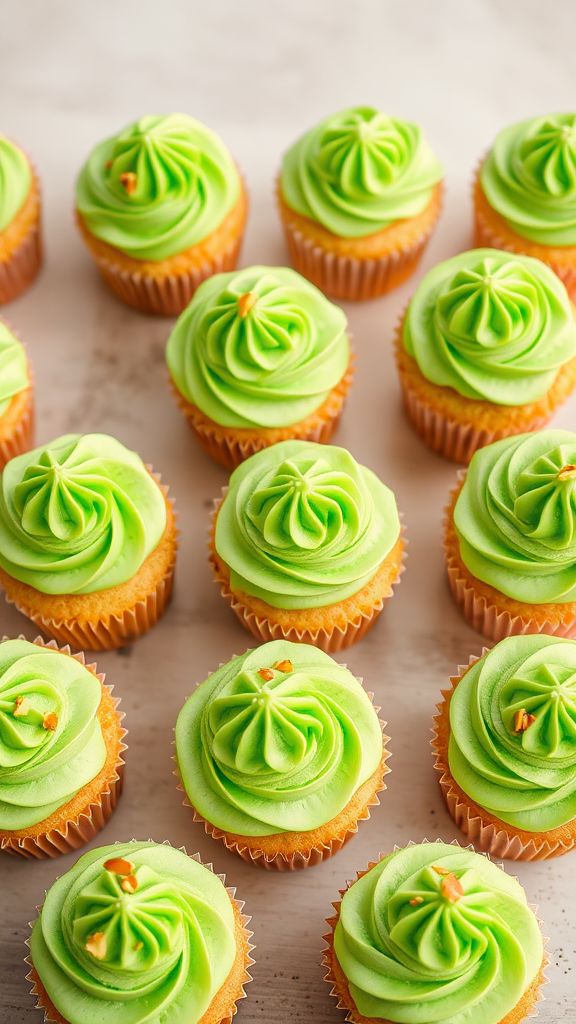
These Pistachio Cupcakes with Green Frosting are a delightful treat, combining the rich, nutty flavor of pistachios with a vibrant green frosting that appeals to both the eyes and the palate.
Ingredients:
- 1 cup unsalted pistachios, shelled and finely ground
- 1 ½ cups all-purpose flour
- 1 tsp baking powder
- ½ tsp baking soda
- ¼ tsp salt
- ½ cup unsalted butter, softened
- 1 cup granulated sugar
- 2 large eggs
- 2 tsp vanilla extract
- ½ cup milk
- 2 cups powdered sugar
- 3 tbsp unsalted butter, softened
- 2-3 tbsp milk
- 1 tsp green food coloring
Preparation Time: 15 minutes
Cooking Time: 20 minutes
Total Time: 35 minutes
Instructions:
1. Preheat your oven to 350°F (175°C) and line a cupcake tin with paper liners.
2. In a bowl, combine the flour, baking powder, baking soda, salt, and ground pistachios.
3. In a separate bowl, cream together the softened butter and granulated sugar until light and fluffy.
4. Add the eggs one at a time, mixing well after each addition, then stir in the vanilla extract.
5. Gradually add the dry ingredients to the wet ingredients, alternating with the milk, and mix until just combined.
6. Divide the batter evenly among the cupcake liners, filling each about two-thirds full.
7. Bake in the preheated oven for 18-20 minutes, or until a toothpick inserted in the center comes out clean.
8. Allow the cupcakes to cool completely before frosting.
9. To prepare the frosting, beat together the powdered sugar and softened butter until smooth, then add milk and green food coloring to reach desired consistency and color.
10. Frost the cooled cupcakes with the green frosting and decorate as desired.
Tips:
- For a more intense pistachio flavor, add a teaspoon of pistachio extract to the batter.
- Make sure the cupcakes are completely cool before applying frosting to prevent melting.
- You can use chopped pistachios as a garnish for extra texture and presentation.
Spinach and Avocado Smoothie Bowl
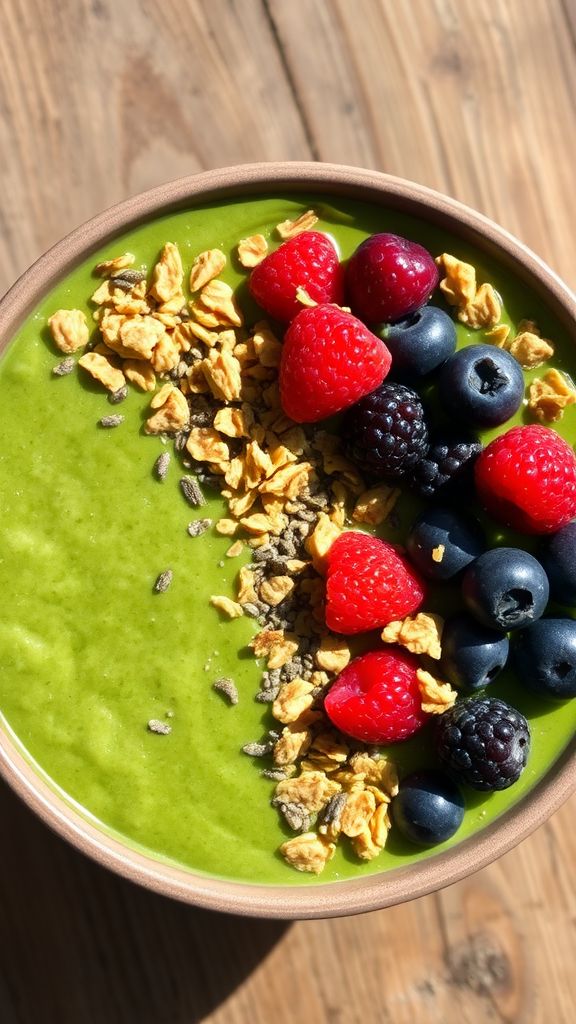
This Spinach and Avocado Smoothie Bowl is a delightful blend of creamy avocado and fresh spinach, enhanced with a touch of sweetness, making it not only nutritious but also irresistibly delicious.
Ingredients:
- 2 cups fresh spinach
- 1 ripe avocado
- 1 cup almond milk
- 1 tablespoon honey or maple syrup
- 1/2 cup Greek yogurt
- 1/2 teaspoon vanilla extract
- 1/2 cup ice cubes
- 1/4 cup granola (for topping)
- 1/4 cup fresh berries (for topping)
- 1 tablespoon chia seeds (for topping)
Preparation Time: 10 minutes
Cooking Time: 0 minutes
Total Time: 10 minutes
Instructions:
1. In a blender, combine the spinach, avocado, almond milk, honey or maple syrup, Greek yogurt, vanilla extract, and ice cubes.
2. Blend until smooth and creamy, ensuring there are no lumps left.
3. Pour the smoothie mixture into a bowl.
4. Top with granola, fresh berries, and chia seeds as desired.
5. Serve immediately and enjoy your nutritious bowl!
Tips:
- For a vegan option, substitute Greek yogurt with dairy-free yogurt.
- You can add protein powder for an extra boost.
- Experiment with different toppings like sliced bananas or nuts for added texture.
Green Velvet Cake Pops
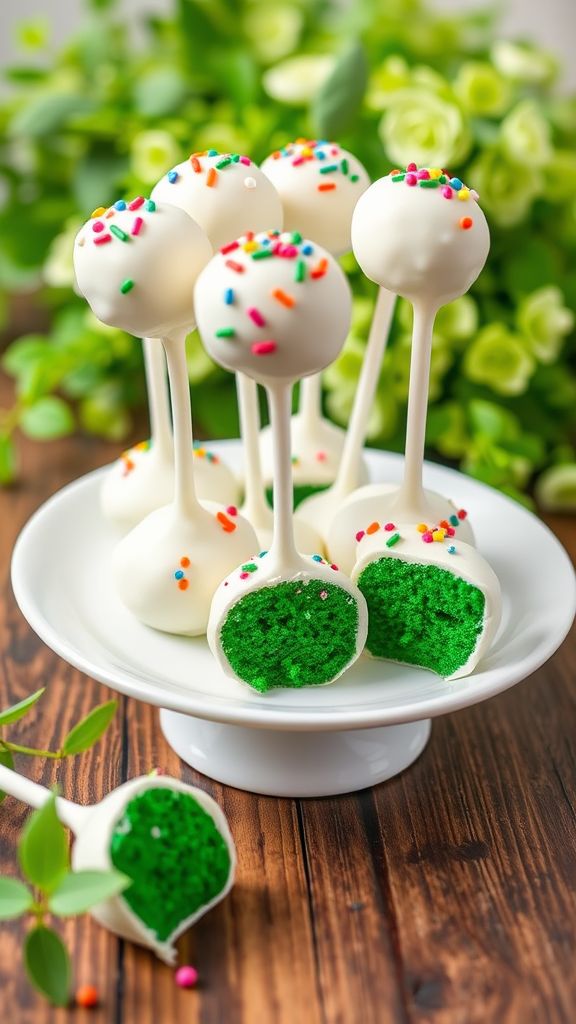
These Green Velvet Cake Pops combine the classic velvety texture with a fun green twist, making them perfect for celebrations or just a sweet treat any day.
Ingredients:
- 1 box green velvet cake mix
- 1 cup water
- 1/3 cup vegetable oil
- 3 large eggs
- 1 cup cream cheese frosting
- 12 oz white chocolate chips
- 1 tablespoon vegetable oil (for melting chocolate)
- Sprinkles (optional, for decoration)
Preparation Time: 20 minutes
Cooking Time: 30 minutes
Total Time: 50 minutes
Instructions:
1. Preheat your oven to 350°F (175°C) and prepare a baking pan by greasing it.
2. In a large bowl, combine the green velvet cake mix, water, vegetable oil, and eggs. Mix until well combined.
3. Pour the cake batter into the prepared baking pan and bake for about 30 minutes, or until a toothpick inserted in the center comes out clean.
4. Allow the cake to cool completely in the pan before transferring it to a wire rack.
5. Once the cake is cool, crumble it into a large mixing bowl. Add the cream cheese frosting and mix until fully incorporated.
6. Form the cake mixture into small balls (about 1 inch in diameter) and place them on a baking sheet lined with parchment paper.
7. Freeze the cake pops for at least 30 minutes to firm them up.
8. In a microwave-safe bowl, melt the white chocolate chips with the vegetable oil in 30-second intervals until smooth.
9. Dip the end of each lollipop stick into the melted chocolate, then insert it into the center of each cake pop to help it stay in place.
10. Once all pops have sticks, dip each cake pop into the melted chocolate, allowing any excess to drip off.
11. Place the coated cake pops back on the parchment paper and add sprinkles if desired.
12. Let the chocolate set completely before serving or storing the cake pops.
Tips:
- For an extra festive touch, use colored sprinkles that match your occasion.
- Make sure the cake pops are completely frozen before dipping for better coating.
- Store leftover cake pops in an airtight container in the refrigerator for up to a week.
Key Lime Pie with a Twist
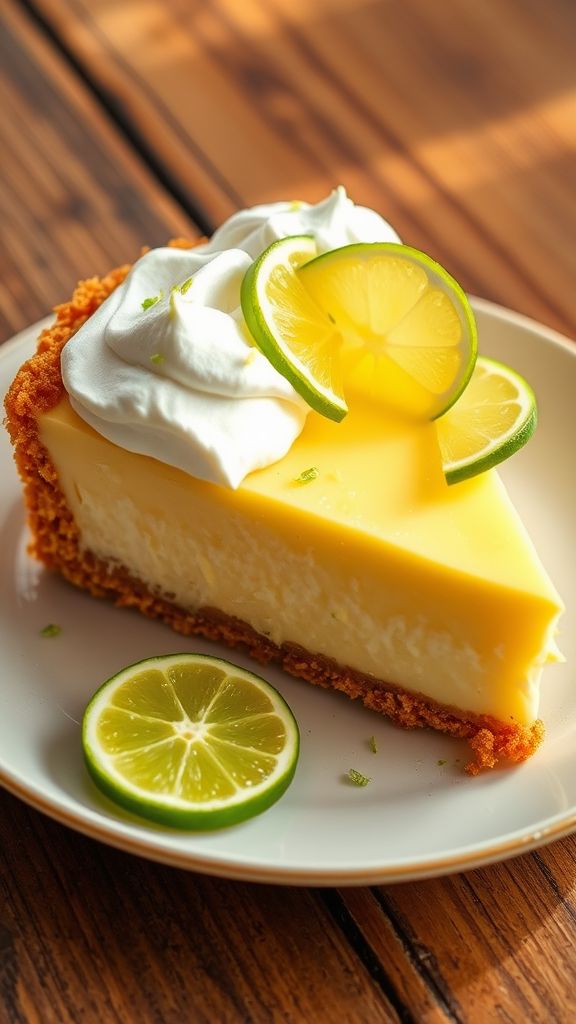
This Key Lime Pie with a Twist features a delightful blend of coconut and ginger, making it a refreshing dessert that tantalizes the taste buds.
Ingredients:
- 1 ½ cups graham cracker crumbs
- ½ cup unsweetened shredded coconut
- ⅓ cup granulated sugar
- ½ cup unsalted butter, melted
- 4 large egg yolks
- 1 can (14 oz) sweetened condensed milk
- ½ cup key lime juice
- 1 teaspoon vanilla extract
- 1 teaspoon grated fresh ginger
- 1 cup heavy whipping cream
- 2 tablespoons powdered sugar
- 1 teaspoon lime zest
Preparation Time: 15 minutes
Cooking Time: 30 minutes
Total Time: 45 minutes
Instructions:
1. Preheat your oven to 350°F (175°C).
2. In a mixing bowl, combine the graham cracker crumbs, shredded coconut, granulated sugar, and melted butter until well mixed.
3. Press the mixture firmly into the bottom and up the sides of a 9-inch pie pan to form the crust.
4. Bake the crust for about 10 minutes, then remove it from the oven and let it cool.
5. In a mixing bowl, whisk the egg yolks until they are light and fluffy.
6. Add in the sweetened condensed milk, key lime juice, vanilla extract, and grated ginger, whisking until fully combined.
7. Pour the filling into the cooled crust and bake for an additional 15-20 minutes, until set.
8. Remove from the oven and allow to cool to room temperature, then refrigerate for at least 2 hours.
9. Before serving, whip the heavy cream with the powdered sugar until soft peaks form, then spread over the pie.
10. Garnish with lime zest before slicing and serving.
Tips:
- For a stronger coconut flavor, use coconut milk in the filling.
- Ensure the pie is fully chilled before serving to enhance the flavors.
- Top with fresh lime slices for extra presentation and flavor.
Avocado Chocolate Pudding
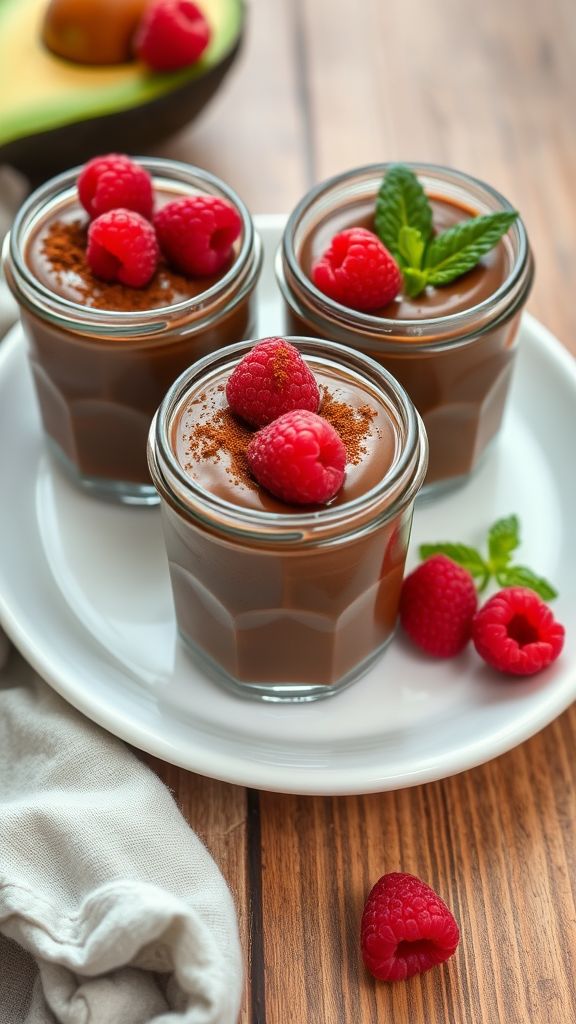
This Avocado Chocolate Pudding is a creamy and decadent dessert that delights with its rich chocolate flavor and nutritious avocado base.
Ingredients:
- 2 ripe avocados
- 1/2 cup unsweetened cocoa powder
- 1/4 cup maple syrup
- 1/4 cup almond milk (or any milk of choice)
- 1 teaspoon vanilla extract
- 1/4 teaspoon sea salt
Preparation Time: 10 minutes
Cooking Time: 0 minutes
Total Time: 10 minutes
Instructions:
1. Cut the avocados in half, remove the pits, and scoop the flesh into a blender.
2. Add the unsweetened cocoa powder, maple syrup, almond milk, vanilla extract, and sea salt into the blender.
3. Blend the ingredients on high until smooth and creamy, scraping down the sides as necessary.
4. Taste the pudding and adjust sweetness if needed by adding more maple syrup.
5. Transfer the pudding into serving bowls or jars and refrigerate for at least 30 minutes to chill.
6. Serve chilled and enjoy your delicious avocado chocolate pudding!
Tips:
- For an extra chocolatey flavor, consider adding a tablespoon of chocolate chips into the mixture.
- Top with fresh berries or nuts for added texture and flavor.
- This pudding can be stored in an airtight container in the fridge for up to 3 days.
Grasshopper Pie
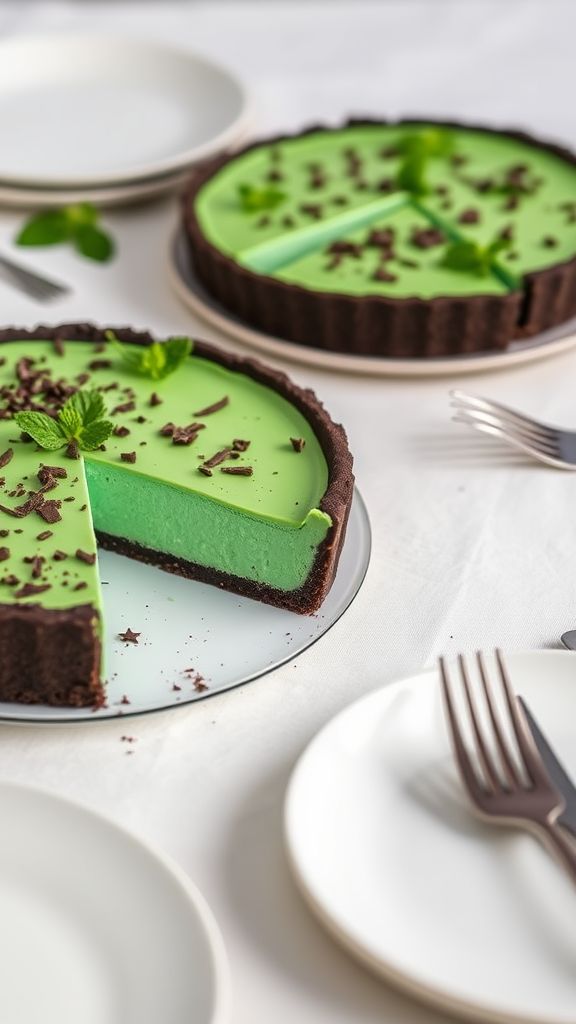
This Grasshopper Pie recipe is a delightful and minty dessert that combines rich flavors of chocolate and cream, perfect for any special occasion.
Ingredients:
- 1 ½ cups chocolate cookie crumbs
- ½ cup unsalted butter, melted
- 1 cup heavy cream
- 1 cup powdered sugar
- 1 cup sweetened condensed milk
- ½ cup crème de menthe liqueur
- ½ cup crème de cacao liqueur
- 1 tsp vanilla extract
- 1 cup mini marshmallows
- Chocolate shavings for garnish
Preparation Time: 20 minutes
Cooking Time: 0 minutes
Total Time: 2 hours (includes chilling)
Instructions:
1. In a mixing bowl, combine the chocolate cookie crumbs and melted butter until well blended.
2. Press the mixture into the bottom and up the sides of a 9-inch pie pan to form a crust.
3. In another bowl, whip the heavy cream until soft peaks form, then gradually add powdered sugar and continue to whip until stiff peaks form.
4. Fold in the sweetened condensed milk, crème de menthe, crème de cacao, and vanilla extract until combined.
5. Gently fold in the mini marshmallows.
6. Pour the filling into the prepared crust and spread it evenly.
7. Chill in the refrigerator for at least 2 hours until set.
8. Before serving, garnish with chocolate shavings on top.
Tips:
- For a non-alcoholic version, replace the liqueurs with peppermint extract and additional chocolate syrup.
- Allow the pie to sit at room temperature for a few minutes before slicing for easier serving.
- Try using different types of liquors to customize the flavor to your preference.
Green Tea Rice Crispy Treats
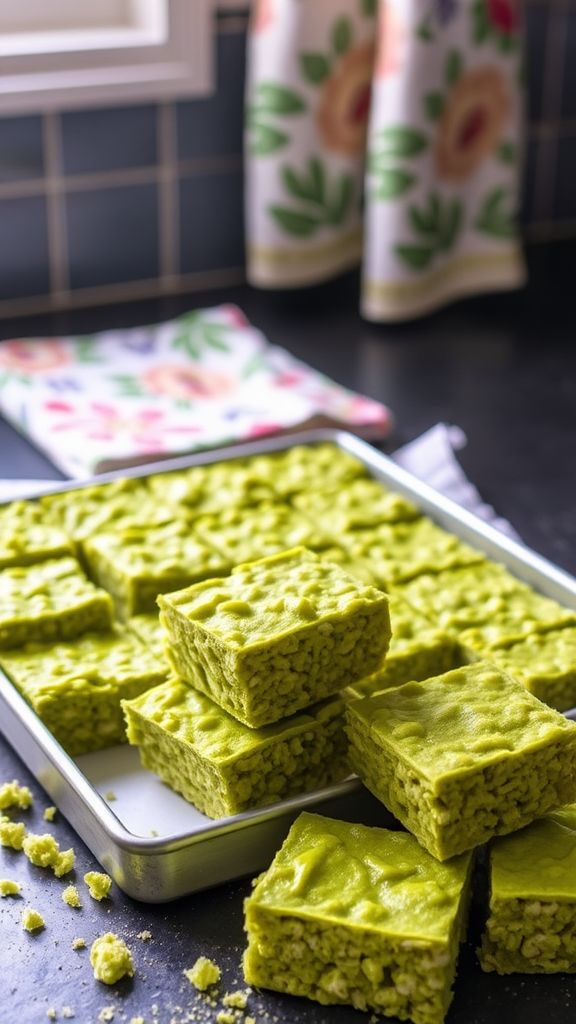
These Green Tea Rice Crispy Treats offer a delightful twist on a classic dessert, combining the earthy notes of matcha with the sweetness of marshmallows for a unique and satisfying treat.
Ingredients:
- 3 tablespoons unsalted butter
- 1 package (10 oz) mini marshmallows
- 1 teaspoon matcha green tea powder
- 6 cups rice crispy cereal
- 1/2 teaspoon vanilla extract
- pinch salt
Preparation Time: 10 minutes
Cooking Time: 5 minutes
Total Time: 15 minutes
Instructions:
1. In a large saucepan, melt the butter over low heat.
2. Add the mini marshmallows and matcha powder, stirring until completely melted and smooth.
3. Remove from heat and stir in the vanilla extract and a pinch of salt.
4. Gradually add the rice crispy cereal, folding it into the marshmallow mixture until well coated.
5. Pour the mixture into a greased 9×13 inch baking pan and press down evenly.
6. Allow to cool for at least 30 minutes before cutting into squares.
Tips:
- Use fresh matcha for the best flavor and color.
- Grease your hands or use a piece of wax paper to press down on the mixture to prevent sticking.
- Store in an airtight container at room temperature for up to a week.


