My New Cookbook is Out! Check Out Now!
10 Easy-to-Make Appetizers for Mother’s Day Brunch
This page contains affiliate links and I earn a commission if you make a purchase through one of the links, at no cost to you.
Are you ready to surprise your mom with a delightful brunch this Mother’s Day? Creating mouthwatering appetizers doesn’t have to be hard! With these 10 easy-to-make recipes, you can show your love and impress your guests without spending all day in the kitchen. Let’s make this brunch one she’ll never forget!
Shop Our Must-Haves


1 Savory Spinach and Feta Puff Pastry Bites

These Savory Spinach and Feta Puff Pastry Bites are a deliciously easy appetizer that will impress your guests! The flaky pastry combined with the creamy feta and fresh spinach makes for a mouthwatering treat. Perfect for parties or snacks, these bites are sure to disappear quickly!
Prep Time: 15 minutes
Cook Time: 20 minutes
Total Time: 35 minutes
Servings: 12 bite-sized pieces
Ingredients:
- 1 sheet of puff pastry, thawed
- 2 cups of fresh spinach, chopped
- 1 cup of feta cheese, crumbled
- 1/2 cup of ricotta cheese
- 1 garlic clove, minced
- 1 egg, beaten (for egg wash)
- 1 tablespoon of olive oil
- Salt and pepper to taste
Instructions:
Start by preheating your oven to 400°F (200°C). This ensures that the pastry will puff up nicely. Now, grab a large skillet and heat the olive oil over medium heat. Add the minced garlic and sauté for about a minute until it smells amazing.
Next, toss in the chopped spinach. Cook it until just wilted, which should take about 2-3 minutes. Remove the skillet from heat and let the mixture cool slightly.
In a mixing bowl, combine the wilted spinach, feta cheese, and ricotta cheese. Stir well to mix everything together. Add a sprinkle of salt and pepper according to your taste, then set the filling aside.
Roll out the puff pastry on a floured surface. Cut it into small squares, about 3 inches by 3 inches. Place a spoonful of the spinach and cheese mixture in the center of each square. Fold the corners over the filling, pinching them to seal tightly.
Place the filled pastry bites on a baking sheet lined with parchment paper. Brush the tops with the beaten egg to give them a beautiful golden color when baked.
Bake for 20 minutes, or until the pastry is puffed and golden brown. Remove from the oven and let them cool for a few minutes before serving.
Tips:
- Add some red pepper flakes for a little kick if you like spicy food.
- You can use frozen spinach, just make sure to thaw and drain it well.
- These bites can be made ahead of time and frozen before baking. Just pop them in the oven when ready to serve!
Nutrition Facts:
- Calories: 150 per serving
- Protein: 5g
- Carbohydrates: 10g
- Fat: 10g
- Fiber: 1g
2 Caprese Skewers with Balsamic Glaze
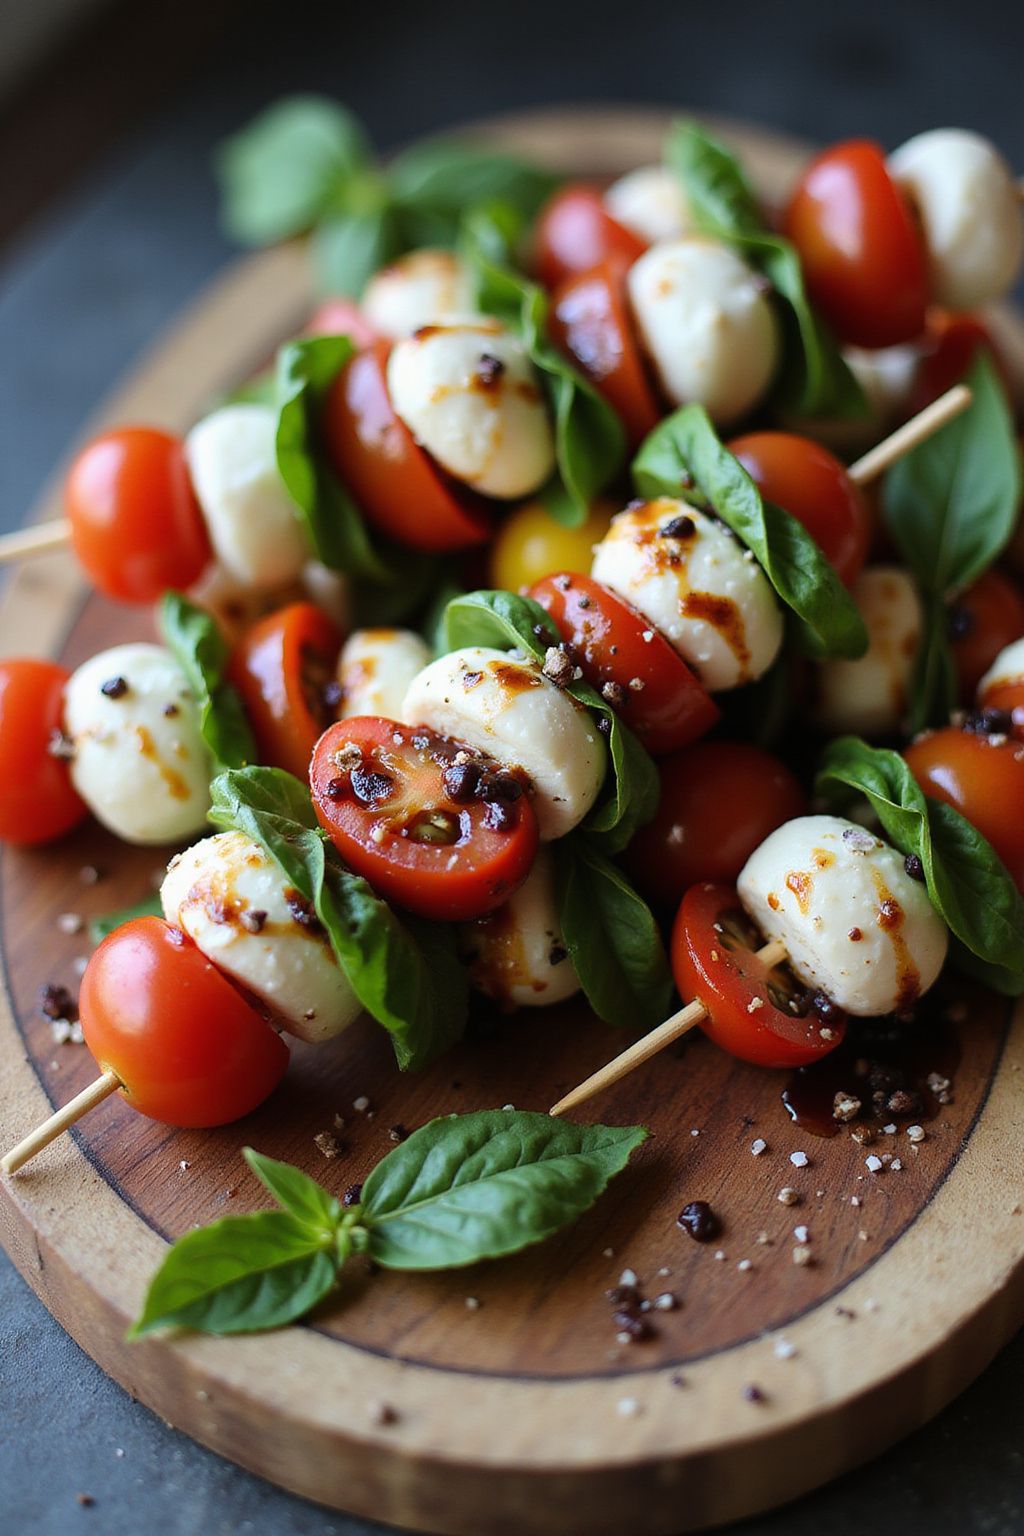
Caprese Skewers with Balsamic Glaze are a fun and tasty way to enjoy fresh flavors. These little bites are perfect for parties, picnics, or just a light snack. With juicy tomatoes, creamy mozzarella, and fresh basil, they are super easy to make!
Prep Time: 15 minutes
Total Time: 15 minutes
Servings: 12 skewers
Ingredients:
- 12 cherry tomatoes
- 12 mozzarella balls (bocconcini)
- 12 fresh basil leaves
- 1/4 cup balsamic glaze
- Salt and pepper to taste
- 12 wooden skewers
Instructions:
Start by washing the cherry tomatoes and basil leaves under cool water. Make sure they are dry before you start assembling the skewers. Pat them gently with a paper towel to remove excess moisture.
Next, take your wooden skewers and start stacking your ingredients. On each skewer, put one cherry tomato, followed by a basil leaf, and then a mozzarella ball. Repeat this process until all ingredients are used, finishing with another cherry tomato on each stick if you have room.
Once all the skewers are assembled, it’s time to add flavor. Place the skewers on a serving platter. Drizzle the balsamic glaze over the top of each skewer. Don’t be shy! The glaze gives a nice sweet and tangy flavor.
Finally, sprinkle a bit of salt and pepper on top for added taste. Serve these tasty skewers immediately, or chill them for a bit to enhance the fresh flavors.
Tips:
- Use fresh mozzarella for the best taste.
- If you can’t find balsamic glaze, you can reduce balsamic vinegar on the stove until it thickens.
- Feel free to mix and match other ingredients, like adding olive oil or using different types of cheese.
Nutrition Facts:
- Calories: 70 per skewer
- Protein: 3g
- Carbohydrates: 5g
- Fat: 4.5g
- Sodium: 80mg
- Fiber: 0g
3 Mini Quiche Lorraine with Fresh Herbs

Mini Quiche Lorraine with Fresh Herbs are delicious bite-sized treats that are perfect for any gathering or snack time. The combination of crispy crust, savory cheese, and fresh herbs makes these quiches irresistible! Plus, they are simple to make and can be enjoyed warm or at room temperature.
Prep Time: 15 minutes
Cook Time: 20 minutes
Total Time: 35 minutes
Servings: 12 mini quiches
Ingredients:
- 1 package of pre-made pie crust (or homemade if preferred)
- 4 large eggs
- 1 cup of heavy cream
- 1/2 cup of grated Gruyère cheese
- 1/2 cup of cooked and crumbled bacon
- 2 tablespoons of fresh thyme, chopped
- 2 tablespoons of fresh chives, chopped
- Salt, to taste
- Pepper, to taste
Instructions:
Start by preheating your oven to 375°F (190°C). Then, prepare a mini muffin tin with cooking spray or grease it lightly to prevent sticking.
Roll out the pre-made pie crust on a lightly floured surface. Use a round cutter or a glass to cut out circles that are a bit larger than the muffin tin cups. Press the dough circles into each cup of the tin.
In a bowl, whisk together 4 large eggs and 1 cup of heavy cream until well combined. Add in the cooked bacon, grated Gruyère cheese, fresh thyme, and chives. Season with salt and pepper to taste.
Carefully pour the egg mixture into each crust, filling them about three-quarters full. Make sure not to overfill. Bake in the preheated oven for about 20 minutes, or until the tops are golden and puffed.
Once they are done, take the mini quiches out of the oven and let them cool for a few minutes. Gently remove them from the tin and serve warm or at room temperature.
Tips:
- You can customize these quiches by adding different vegetables, like spinach or bell peppers.
- For an extra flavor boost, sprinkle a bit of grated Parmesan on top before baking.
- These mini quiches can be made ahead of time and stored in the refrigerator. Just reheat them in the oven before serving!
Nutrition Facts:
- Calories: 150 per quiche
- Protein: 5g
- Carbohydrates: 8g
- Fat: 11g
- Fiber: 0g
- Sugar: 1g
4 Sweet Potato and Black Bean Taquitos

These Sweet Potato and Black Bean Taquitos are a delicious and healthy snack that’s perfect for any occasion. With their crispy exterior and flavorful filling, they’re sure to be a hit with family and friends. Plus, they’re easy to make!
Prep Time: 20 minutes
Cook Time: 25 minutes
Additional Time: 10 minutes
Total Time: 55 minutes
Servings: 4
Ingredients:
- 2 medium sweet potatoes, peeled and diced
- 1 can (15 oz) black beans, rinsed and drained
- 1 teaspoon ground cumin
- 1 teaspoon chili powder
- Salt and pepper, to taste
- 8 small flour or corn tortillas
- 1 tablespoon olive oil (for brushing)
- Optional toppings: avocado, salsa, or cilantro
Instructions:
Start by preheating your oven to 400°F (200°C). While the oven is heating, place the diced sweet potatoes in a pot of water and bring to a boil. Cook them for about 10-15 minutes or until they’re tender.
Once the sweet potatoes are cooked, drain them and mash them in a bowl until smooth. Add the black beans, cumin, chili powder, and season with salt and pepper. Mix everything together until well combined.
Now, take the tortillas and place about 2-3 tablespoons of the sweet potato and black bean mixture in the center of each tortilla. Roll them up tightly and place them seam-side down on a baking sheet lined with parchment paper.
Next, brush the tops of the taquitos with olive oil. This will help them turn golden and crispy. Bake in the preheated oven for about 20-25 minutes, or until they are crispy and slightly browned.
Once done, let the taquitos cool for a few minutes. Serve them warm with your choice of toppings like avocado, salsa, or cilantro.
Tips:
- Experiment with spices! You can add paprika or garlic powder for extra flavor.
- For a crunchier texture, try frying the taquitos in a skillet with a bit of oil instead of baking.
- Make extra filling and use it in salads or wraps for another meal!
Nutrition Facts:
- Calories: 250 per serving
- Protein: 10g
- Carbohydrates: 40g
- Fat: 8g
- Fiber: 12g
5 Honey-Glazed Walnut and Brie Bites
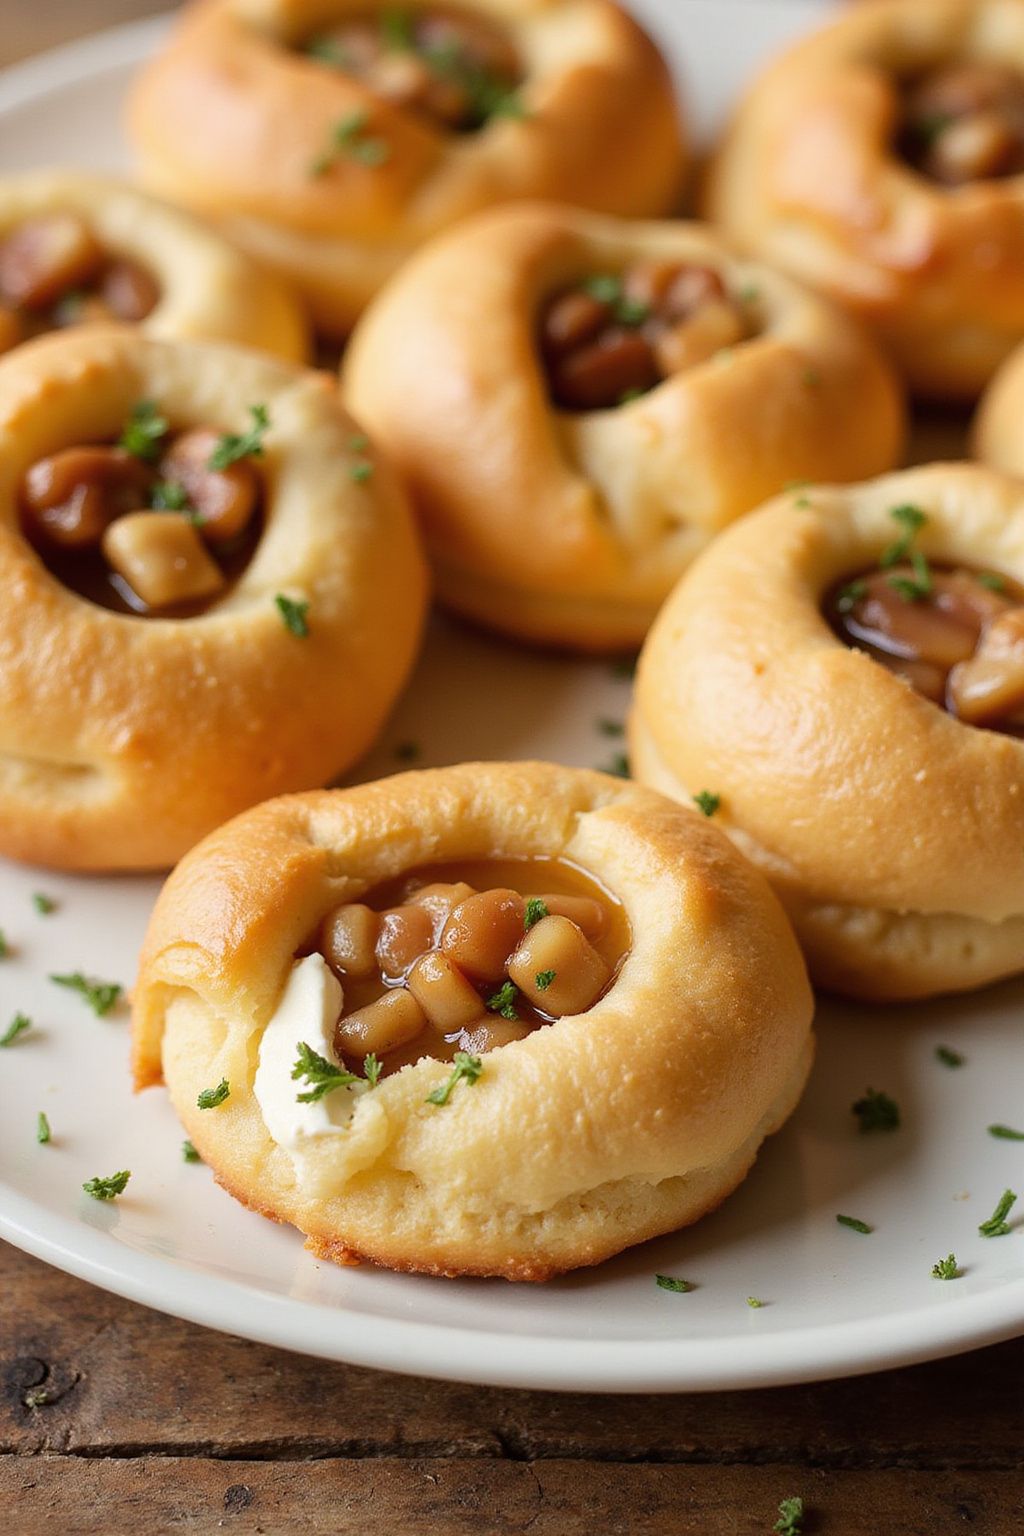
These Honey-Glazed Walnut and Brie Bites are a delicious and easy appetizer that will impress your guests! The combination of warm, gooey brie cheese with crunchy walnuts and a sweet honey glaze creates a perfect balance of flavors. They are simple to make and can be ready in no time!
Prep Time: 10 minutes
Cook Time: 15 minutes
Additional Time: 5 minutes
Total Time: 30 minutes
Servings: 12 bites
Ingredients:
- 1 sheet of puff pastry, thawed
- 8 oz brie cheese, cut into small squares
- 1 cup walnuts, chopped
- 1/3 cup honey
- 1 tsp fresh thyme (optional)
- 1 egg, beaten (for egg wash)
Instructions:
Start by preheating your oven to 400°F (200°C). Line a baking sheet with parchment paper for easy cleanup.
Next, roll out the thawed puff pastry on a lightly floured surface. Cut the pastry into 3-inch squares. Place each square on the prepared baking sheet.
In the center of each pastry square, place a small piece of brie cheese. Then, top the cheese with a spoonful of chopped walnuts. Drizzle a bit of honey over the walnuts for that sweet touch. If you like, sprinkle some fresh thyme on top for added flavor.
Fold the corners of each pastry square up and over the filling, pressing them together to seal. Brush the tops with the beaten egg to give them a nice golden color when baked.
Now, pop the baking sheet into the preheated oven and bake for about 15 minutes or until the pastry is puffed and golden brown.
Once done, let the bites cool for about 5 minutes before serving. Drizzle any remaining honey over the top for an extra treat!
Tips:
- To make it easier, you can buy pre-chopped walnuts or use other nuts like almonds.
- Feel free to experiment with different cheeses, such as goat cheese or cream cheese, for a unique flavor.
- These bites are best served warm, but they can also be enjoyed at room temperature.
Nutrition Facts:
- Calories: 150 per bite
- Total Fat: 10g
- Saturated Fat: 4g
- Cholesterol: 40mg
- Sodium: 150mg
- Total Carbohydrates: 12g
- Dietary Fiber: 1g
- Sugars: 3g
- Protein: 4g
6 Avocado Toast with Cherry Tomatoes and Feta
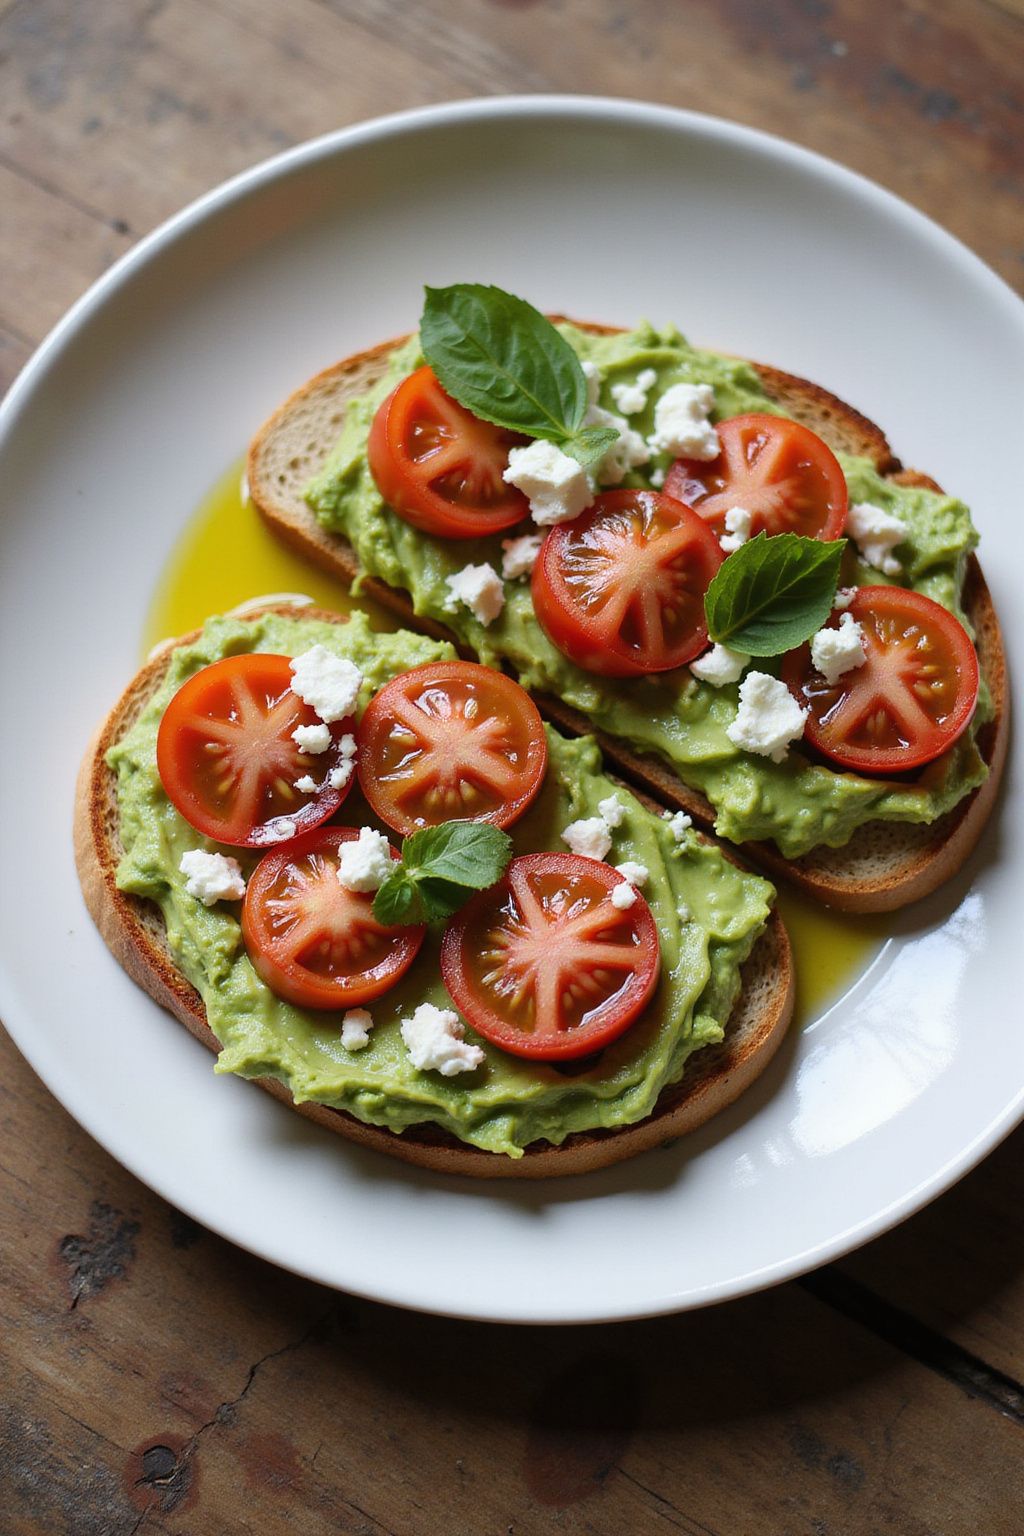
Avocado Toast with Cherry Tomatoes and Feta is a delicious and healthy snack or meal option. It’s quick to make and full of flavor. Enjoy the creaminess of the avocado paired with juicy cherry tomatoes and the salty crunch of feta cheese.
Prep Time: 10 minutes
Total Time: 10 minutes
Servings: 2
Ingredients:
- 2 slices of whole-grain bread
- 1 ripe avocado
- 1 cup of cherry tomatoes, halved
- 1/2 cup of feta cheese, crumbled
- 1 tablespoon of olive oil
- Salt and pepper to taste
- Fresh basil or parsley for garnish (optional)
Instructions:
Start by toasting the whole-grain bread until it’s golden brown and crispy. This should take about 3 to 5 minutes.
While the bread is toasting, cut the ripe avocado in half and remove the pit. Scoop the avocado into a bowl and mash it with a fork until it’s as smooth or chunky as you like.
Add a pinch of salt and pepper to the mashed avocado for extra flavor. Mix it well to combine.
Once the bread is ready, spread the mashed avocado evenly on each slice.
Next, take the cherry tomatoes, halved, and sprinkle them over the top of the avocado spread.
Finally, add the crumbled feta cheese on top of the tomatoes. Drizzle with olive oil for added richness.
If you have fresh basil or parsley, chop some up and sprinkle it on top as a beautiful garnish. Now, your Avocado Toast is ready to enjoy!
Tips:
- For a little kick, add some red pepper flakes on top for heat.
- If you want extra creaminess, you can add a poached or fried egg on top.
- Try using different types of bread like sourdough for a different flavor.
Nutrition Facts:
- Calories: 320
- Protein: 10g
- Carbohydrates: 34g
- Fat: 18g
- Fiber: 8g
7 Cucumber Cups with Lemon Dill Cream Cheese
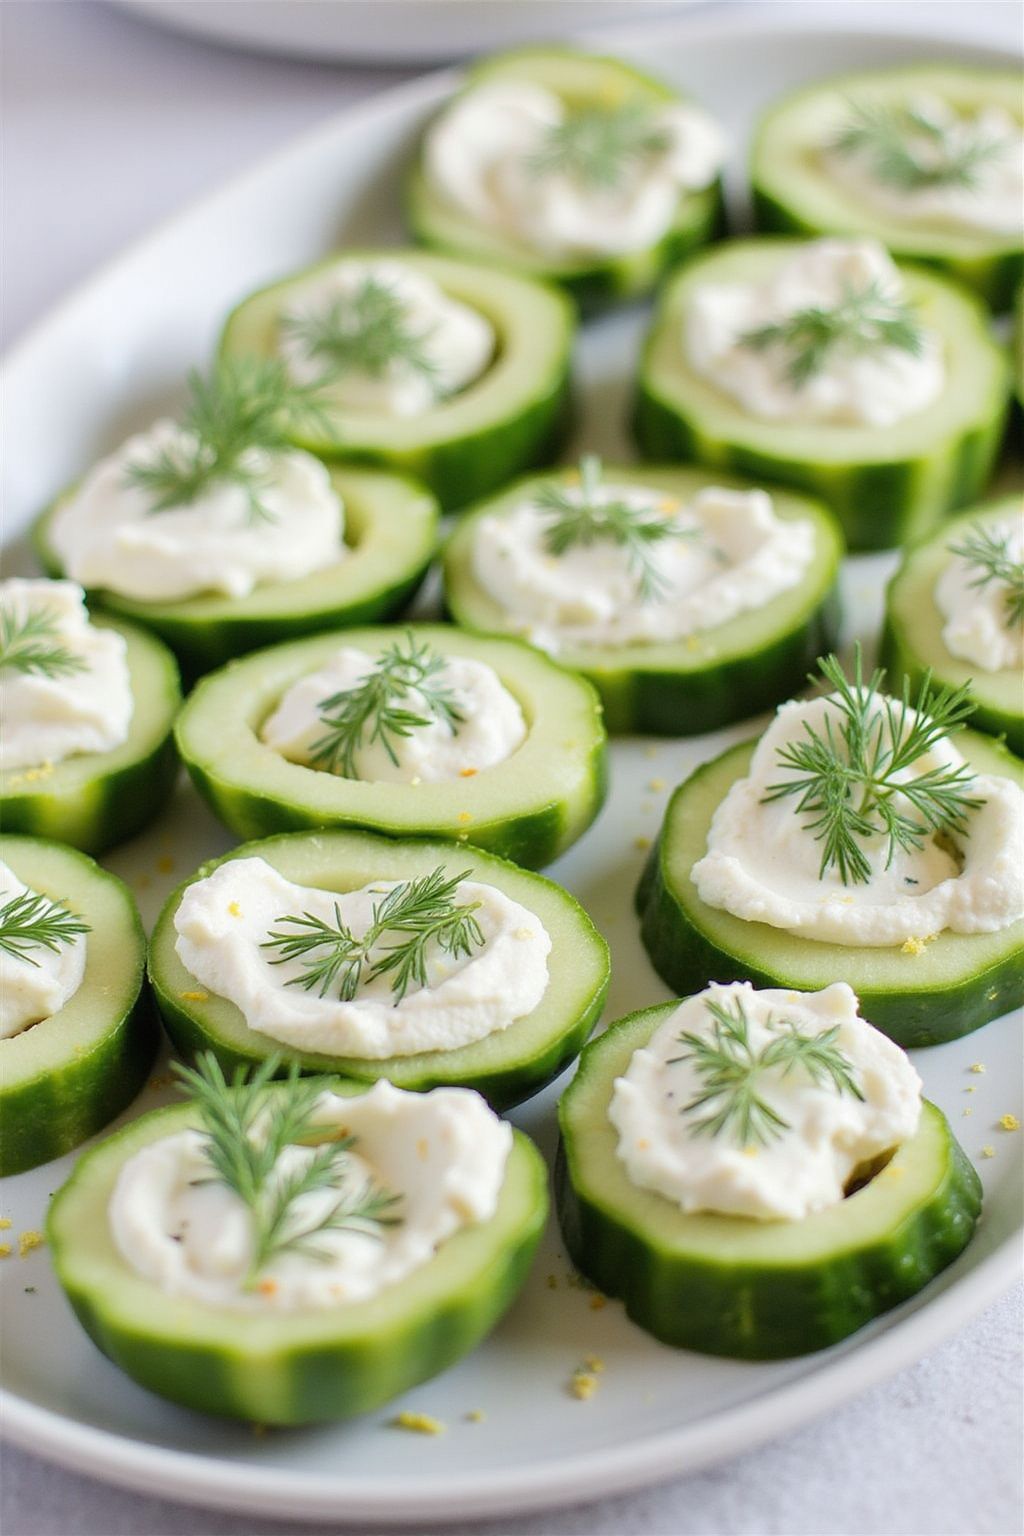
Cucumber Cups with Lemon Dill Cream Cheese are a refreshing and tasty appetizer perfect for any gathering. These bite-sized treats are easy to make and will impress your guests with their creamy filling and crunchy cucumber base. They’re light, flavorful, and a great way to add some veggies to your party platter!
Prep Time: 15 minutes
Additional Time: 30 minutes
Total Time: 45 minutes
Servings: 12
Ingredients:
- 2 large cucumbers
- 8 oz cream cheese, softened
- 1/4 cup sour cream
- 2 tbsp fresh dill, chopped
- 1 tbsp lemon juice
- 1 tsp lemon zest
- 1/2 tsp garlic powder
- **Salt and pepper to taste
- Optional: extra dill for garnish
Instructions:
Start by washing the cucumbers under cool water. Cut each cucumber into about 1-inch thick slices. Use a melon baller or a small spoon to scoop out a bit of the center of each slice, making a cup for the filling.
In a medium bowl, combine the softened cream cheese and sour cream using a hand mixer or a fork. Mix until it’s smooth and creamy. Next, add the fresh dill, lemon juice, lemon zest, and garlic powder to the bowl. Stir everything together until well blended.
Taste the mixture and season it with salt and pepper as needed. Once the filling is ready, it’s time to fill the cucumber cups. Use a small spoon or a piping bag to neatly fill each cup with the delicious lemon dill cream cheese mixture.
After filling all the cucumber cups, place them on a serving platter. If you like, you can garnish each cup with a small sprig of dill for an extra pop of color. To let the flavors set, cover the platter with plastic wrap and refrigerate for at least 30 minutes before serving.
Tips:
- Use fresh ingredients for the best flavor.
- Add a dash of hot sauce to the cream cheese mixture for a spicy kick.
- For a colorful platter, mix in other vegetables like carrots or bell peppers.
Nutrition Facts:
- Calories: 50 per cup
- Protein: 2g
- Fat: 4g
- Carbohydrates: 3g
- Fiber: 0g
- Sodium: 50mg
8 Stuffed Mini Peppers with Goat Cheese and Thyme
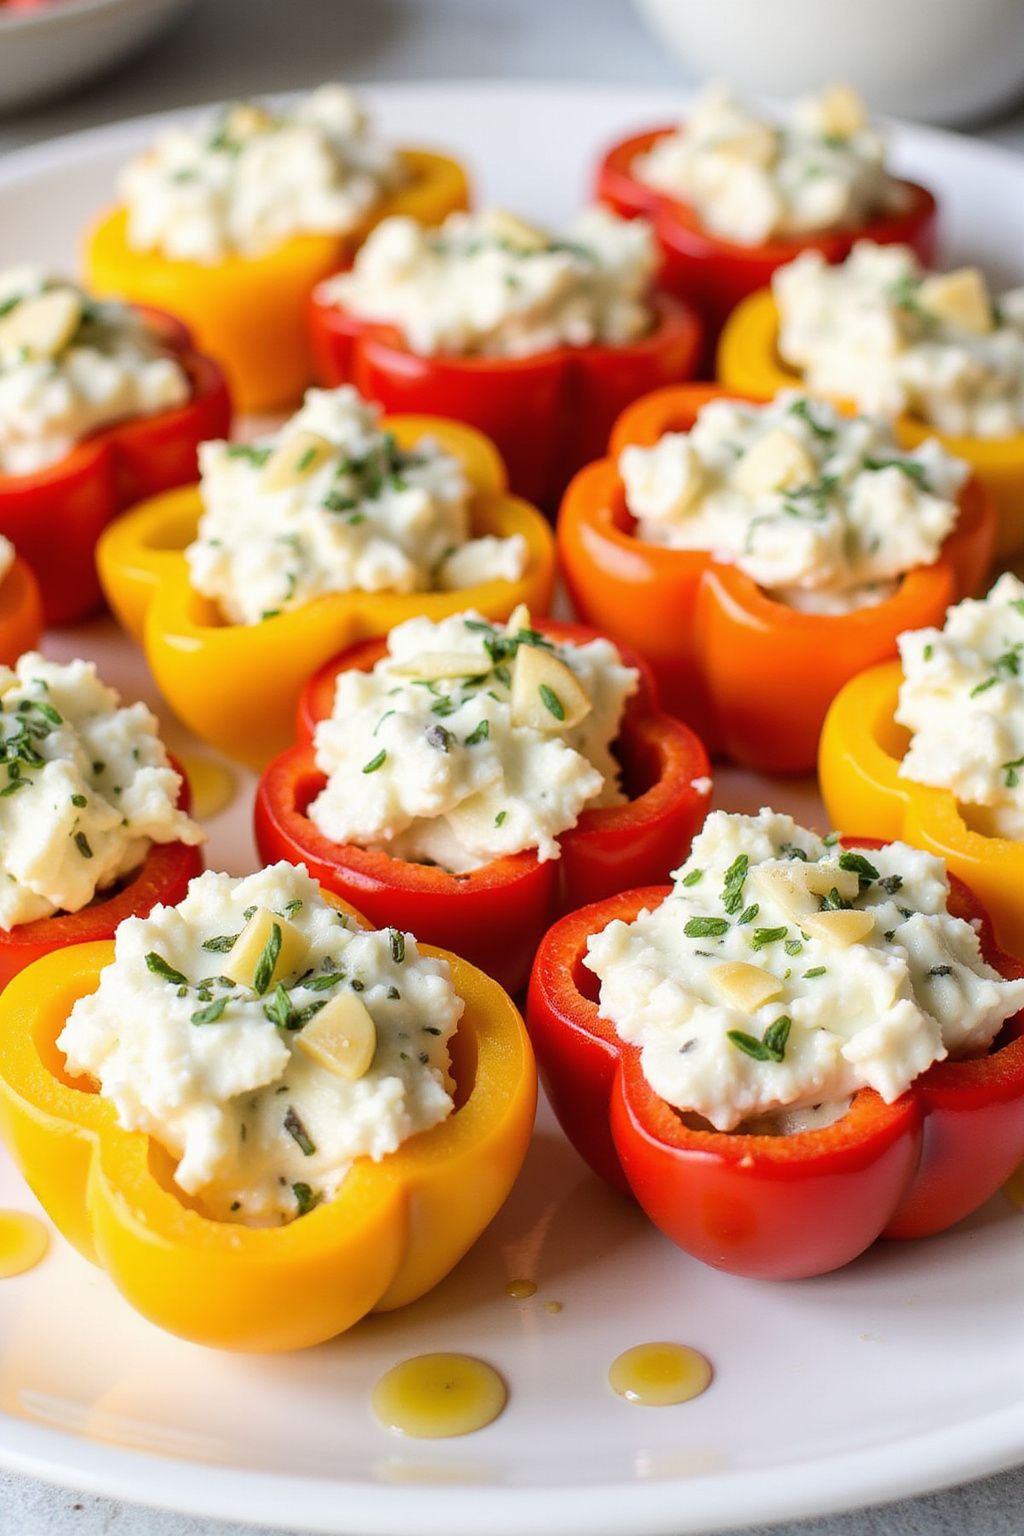
Stuffed Mini Peppers with Goat Cheese and Thyme are a delightful and colorful appetizer perfect for any gathering. These little pockets of flavor are easy to make and bursting with creamy goat cheese and aromatic thyme. Get ready to impress your friends with this tasty treat!
Prep Time: 20 minutes
Total Time: 20 minutes
Servings: 4
Ingredients:
- 12 mini sweet peppers
- 4 oz goat cheese, softened
- 2 tbsp fresh thyme leaves, chopped
- 1 clove garlic, minced
- 1 tbsp olive oil
- Salt and pepper to taste
Instructions:
Begin by preheating your oven to 375°F (190°C). While it is heating, wash the mini sweet peppers and slice them in half lengthwise. Remove the seeds and membranes gently to create little boats for the filling.
In a mixing bowl, combine the softened goat cheese, fresh thyme, minced garlic, and olive oil. Season the mixture with salt and pepper to taste. Use a fork to mash everything together until it’s well combined.
Now, take the halved mini peppers and fill each half with the goat cheese mixture. Press the filling into the peppers to make sure it stays put. Arrange the stuffed peppers on a baking sheet lined with parchment paper.
Place the baking sheet in your preheated oven and bake for 15-20 minutes, or until the peppers are tender and the cheese is slightly golden. Once finished, remove them from the oven and let them cool for a few minutes before serving.
Tips:
- If you want extra flavor, drizzle a bit of balsamic glaze over the stuffed peppers before serving.
- For a little kick, add some minced jalapeños to the cheese mixture.
- These stuffed mini peppers can be prepared ahead of time and stored in the fridge before baking.
Nutrition Facts:
- Calories: 120 per serving
- Protein: 5g
- Carbohydrates: 8g
- Fat: 9g
- Fiber: 2g
9 Beet Hummus and Veggie Platter
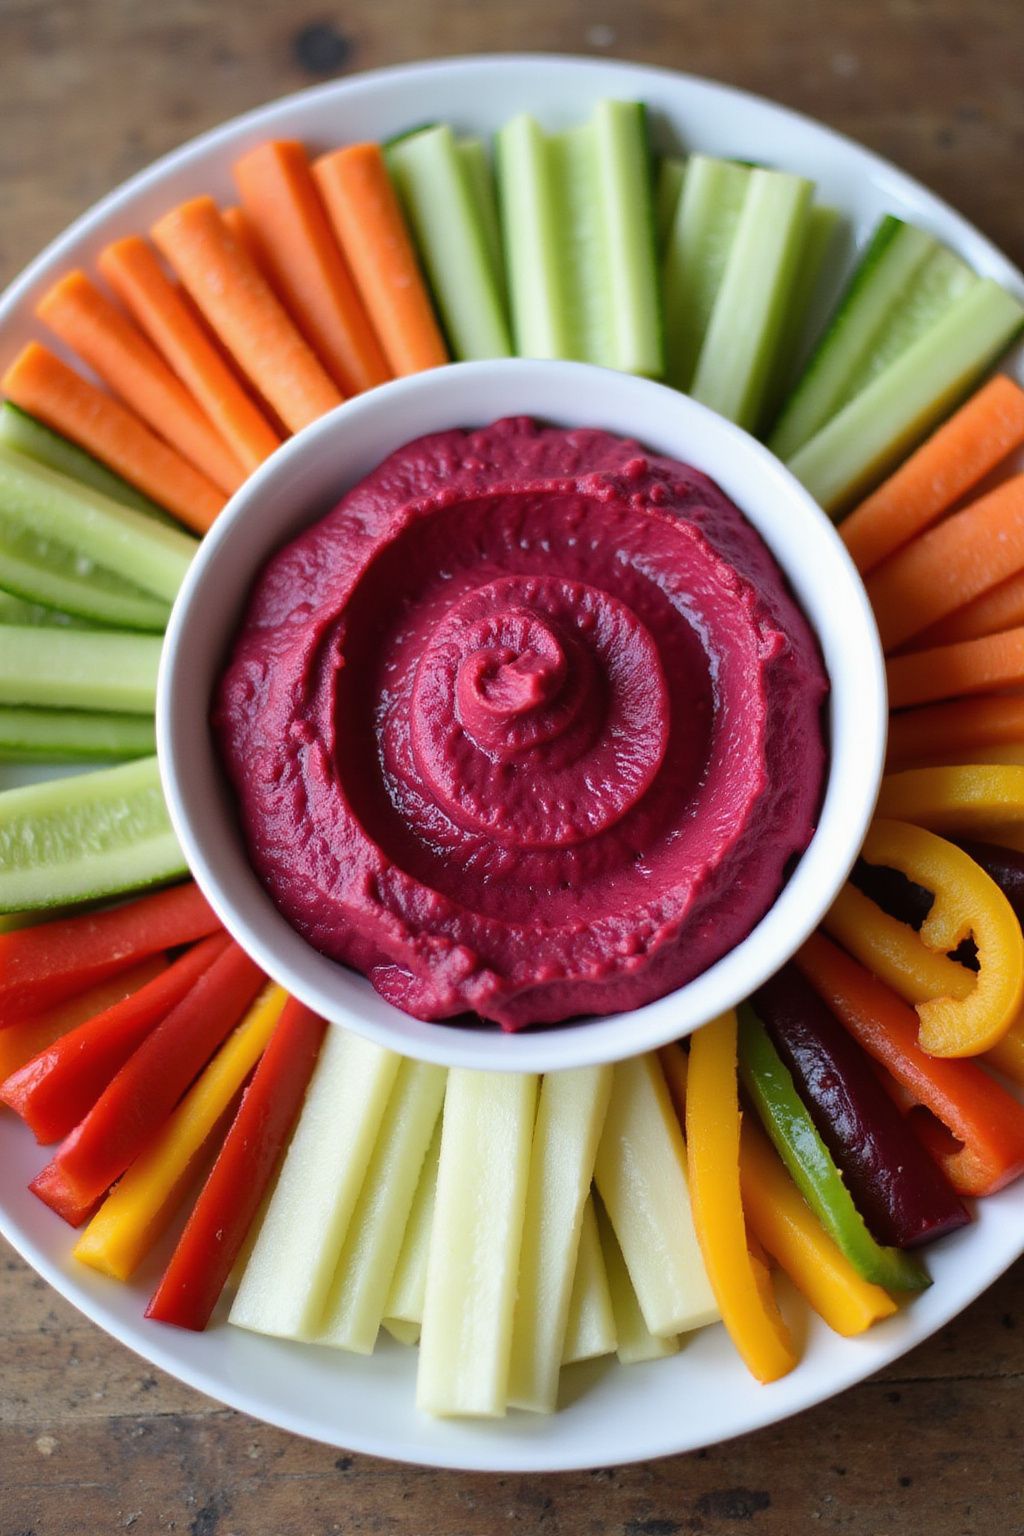
Bright, creamy, and totally delicious, Beet Hummus makes for a perfect dip that’s as vibrant as it is tasty. Pair it with a variety of fresh veggies, and you’ve got a colorful platter that’s great for parties or a healthy snack at home. Let’s get started on this simple yet impressive recipe!
Prep Time: 10 minutes
Total Time: 10 minutes
Servings: 4-6
Ingredients:
- 1 medium beet, cooked and peeled
- 1 can (15 oz) chickpeas, drained and rinsed
- 2 tablespoons tahini
- 2 tablespoons lemon juice
- 2 tablespoons olive oil
- 1 garlic clove, minced
- ½ teaspoon cumin
- Salt and pepper, to taste
- Fresh veggies for dipping (carrots, cucumber, bell peppers, celery)
Instructions:
Start by preparing the beet. If you haven’t cooked it yet, boil it until it’s tender, then peel and chop it.
In a food processor, combine the cooked beet with chickpeas, tahini, lemon juice, olive oil, minced garlic, and cumin.
Blend everything until smooth and creamy. If the mixture is too thick, add a little water to reach your desired consistency.
Finally, season with salt and pepper to taste. Blend again to mix in the seasonings well.
Scoop the beet hummus into a bowl and serve it with an assortment of fresh veggies for dipping. Enjoy this colorful and nutritious platter!
Tips:
- For added flavor, try roasting the beet instead of boiling it.
- You can store leftover hummus in the refrigerator for up to 5 days in an airtight container.
- Experiment with different veggies like radishes or cherry tomatoes for a fun platter!
Nutrition Facts:
- Calories: 120 per serving
- Protein: 5g
- Fat: 6g
- Carbohydrates: 12g
- Fiber: 4g
- Sugar: 2g
10 Fresh Fruit Kabobs with Mint Yogurt Dip
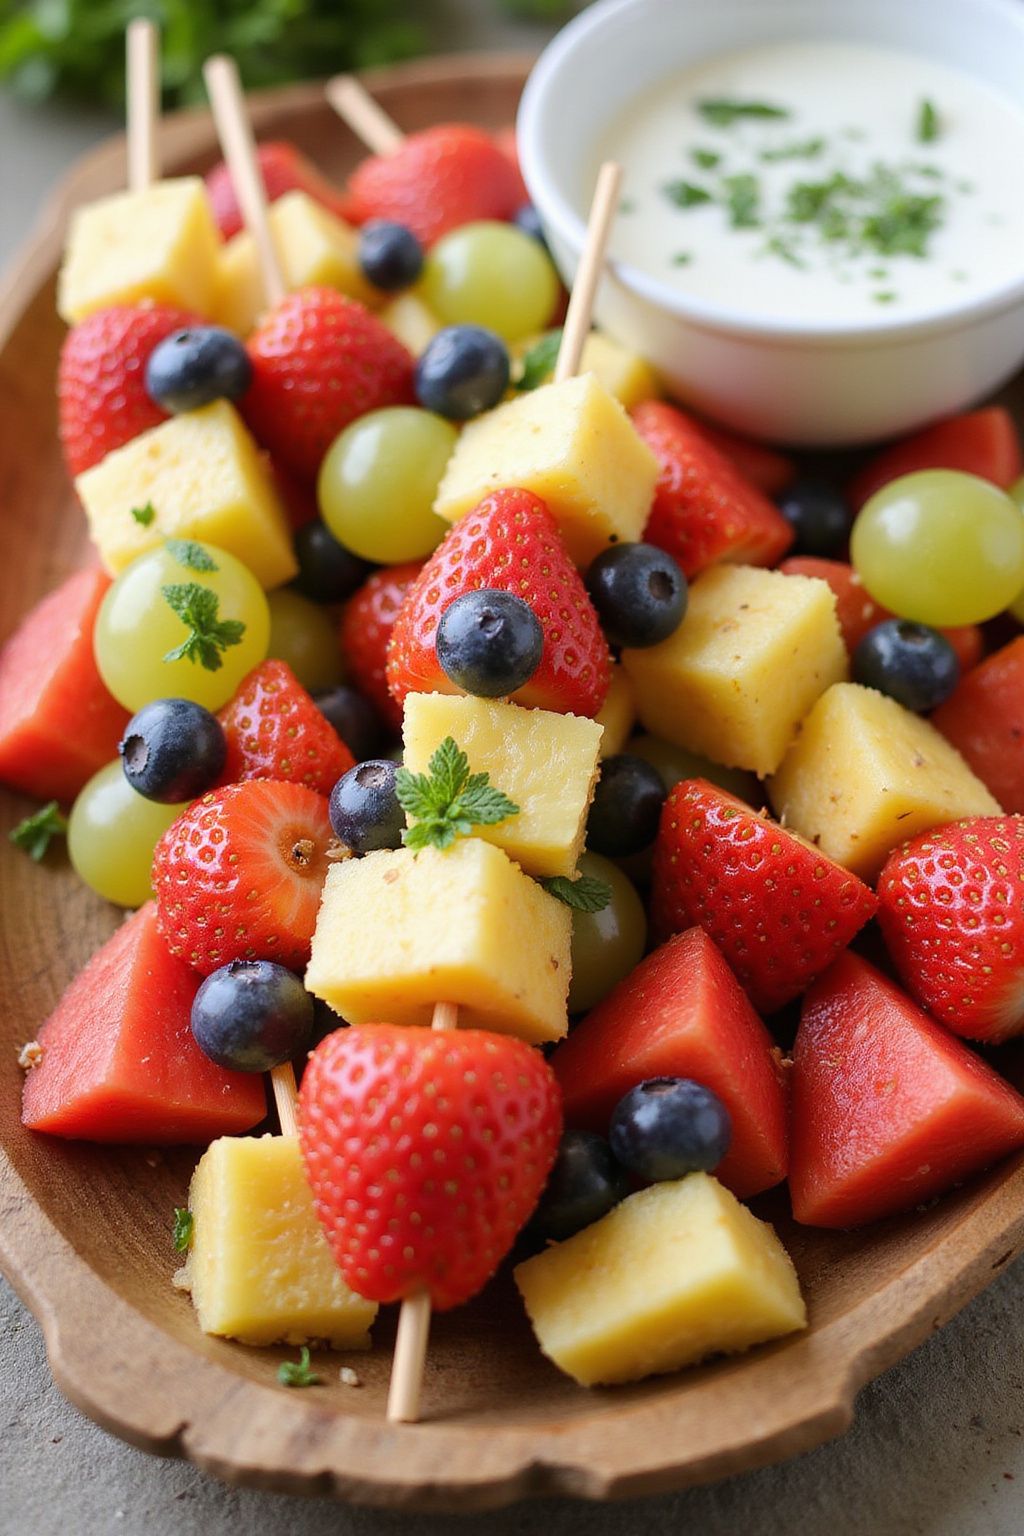
Fresh Fruit Kabobs with Mint Yogurt Dip are a fun and colorful treat that everyone loves. These delightful skewers are packed with juicy fruits and are perfect for parties or as a healthy snack. The refreshing mint yogurt dip adds a creamy touch that brings all the flavors together.
Prep Time: 15 minutes
Total Time: 15 minutes
Servings: 4
Ingredients:
- 1 cup fresh strawberries, hulled and halved
- 1 cup pineapple, cut into bite-sized pieces
- 1 cup grapes, halved if large
- 1 cup watermelon, cut into small cubes
- 1 cup blueberries
- 1/2 cup plain yogurt
- 1 tablespoon honey
- 1 tablespoon fresh mint leaves, finely chopped
- Wooden skewers
Instructions:
Start by preparing the fresh fruit. Wash all the fruits thoroughly. Then, cut the strawberries, pineapple, and watermelon into bite-sized pieces. If your grapes are large, slice them in half for easier eating.
Next, take the wooden skewers and start threading on the fruit. Alternate between strawberries, pineapple, grapes, watermelon, and blueberries for a colorful effect. Aim for about 5-6 pieces of fruit per skewer, but feel free to adjust based on your preference.
Now, let’s make the mint yogurt dip. In a medium bowl, combine the plain yogurt, honey, and finely chopped mint leaves. Stir well until everything is mixed together. Taste the dip and adjust the sweetness by adding more honey if desired.
Once your fruit kabobs are ready, arrange them on a platter. Serve with the mint yogurt dip on the side for dipping. Enjoy these colorful kabobs as a healthy snack or appetizer!
Tips:
- Use any combination of your favorite fruits for the kabobs.
- For extra flavor, add a splash of vanilla extract to the yogurt dip.
- Keep the assembled kabobs in the refrigerator until ready to serve to keep them fresh.
Nutrition Facts:
- Calories: 150 per serving
- Protein: 4g
- Fat: 2g
- Carbohydrates: 35g
- Fiber: 4g
- Sugars: 25g